


Paintless Dent Repair (PDR) is an eco-friendly and cost-effective auto maintenance technique for minor dents and scratches, preserving original paint jobs and offering faster turnaround times than traditional methods. Essential tools include dent pullers, padding tools, polishers, compounds, air compressors, and safety gear. The PDR process involves a precise, step-by-step approach to removing door dings without damaging surrounding paint, utilizing specialized tools for effective repairs.
“Looking to master the art of PDR (Paintless Dent Repair) for those pesky door dings? This comprehensive beginner’s guide is your perfect starting point. We’ll break down the fundamentals of PDR, walk you through essential tools and materials, and provide a detailed, step-by-step process for removing door dings without painting. By the end, you’ll be equipped to restore your vehicle’s flawless finish like a pro.”
- Understanding PDR for Door Dings: The Basics
- Tools and Materials Needed for PDR
- Step-by-Step Guide to Removing Door Dings with PDR
Understanding PDR for Door Dings: The Basics
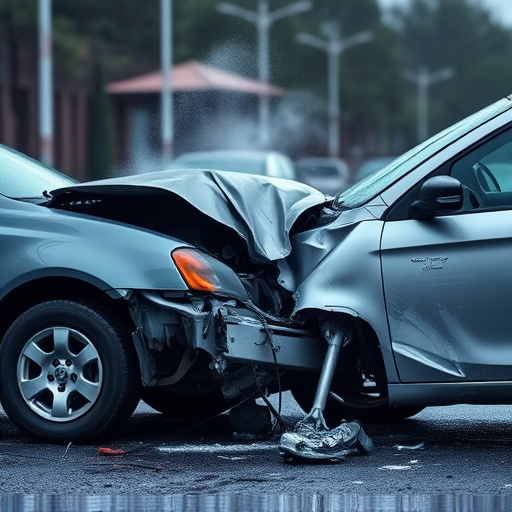
PDR for door dings, or Paintless Dent Repair, is a revolutionary technique within the auto maintenance and car bodywork industries. This innovative process allows technicians to restore damaged cars back to their original condition without the need for painting, which makes it an eco-friendly and cost-effective solution for minor dents and scratches on vehicle bodies. By using specialized tools and techniques, PDR professionals can effectively remove dents from metal surfaces, ensuring a flawless finish that’s almost impossible to detect.
This modern auto bodywork approach is particularly beneficial for those seeking a quick and efficient way to fix door dings and other small imperfections. Unlike traditional repair methods that often involve extensive painting and labor, PDR offers a faster turnaround time and preserves the vehicle’s original paint job. With its growing popularity, many car owners are now opting for PDR as a preferred method for auto bodywork repairs, ensuring their vehicles maintain a pristine appearance while saving them money on potentially unnecessary repainting.
Tools and Materials Needed for PDR
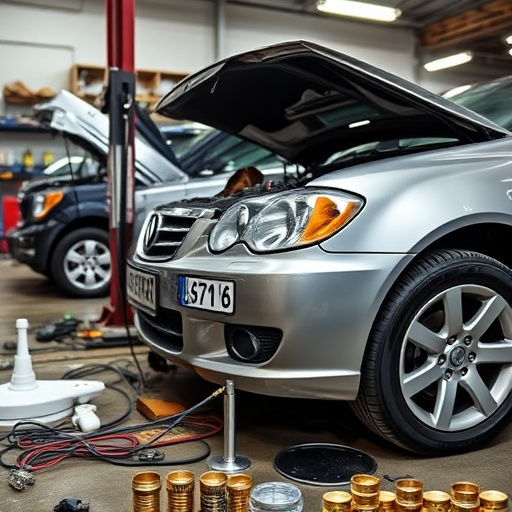
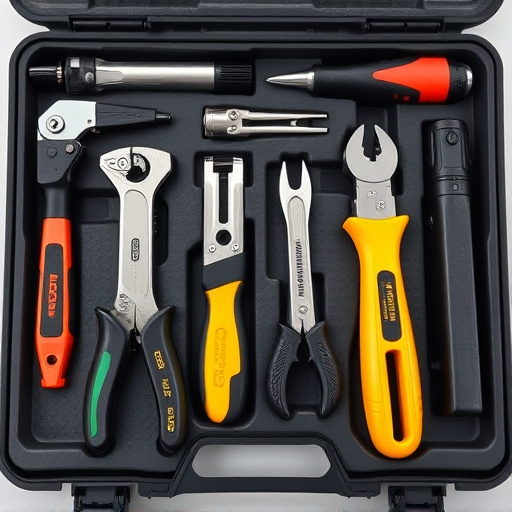
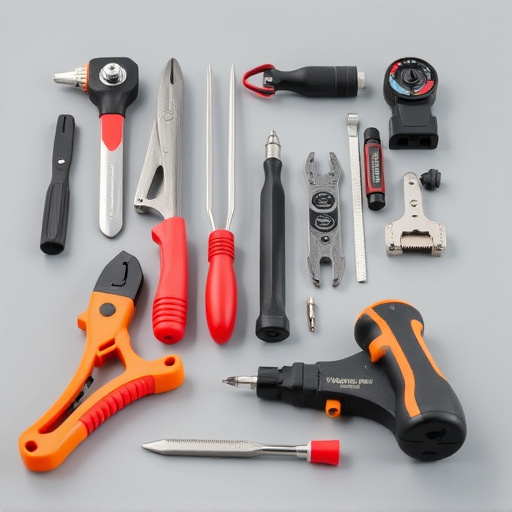
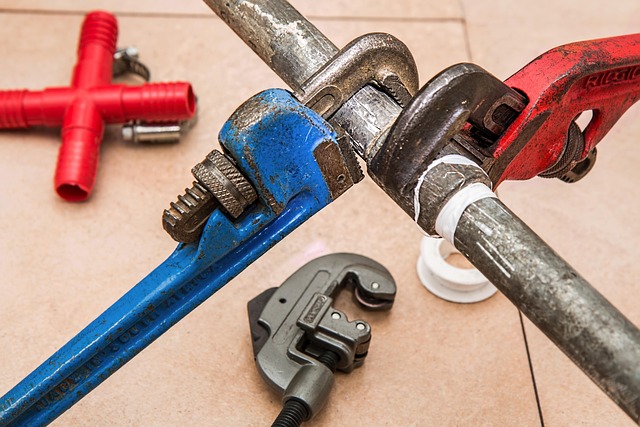
To get started with PDR (Paintless Dent Repair) for door dings, there are several essential tools and materials you’ll need. The primary tool is a dent puller, which comes in various shapes and sizes to suit different types of dents. These tools use precision pressure to gently remove the dent without damaging the paint or surrounding panel. Alongside dent pullers, you’ll require a set of padding tools, usually made of foam or rubber, to protect the car’s surface during the repair process.
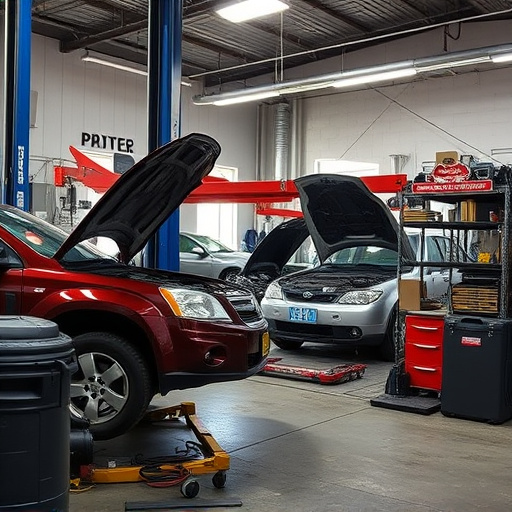
Additional materials include a variety of polishers and compounds designed to fill and smooth out dents. For effective PDR, a good quality air compressor is crucial as it provides the necessary force for the dent puller to work its magic. Remember, proper safety gear such as gloves and eye protection is also essential, ensuring you’re protected during the repair process. Many auto collision centers and car repair services now offer PDR as a cost-effective alternative to traditional paint jobs, making your vehicle look good as new without the hefty price tag.
Step-by-Step Guide to Removing Door Dings with PDR

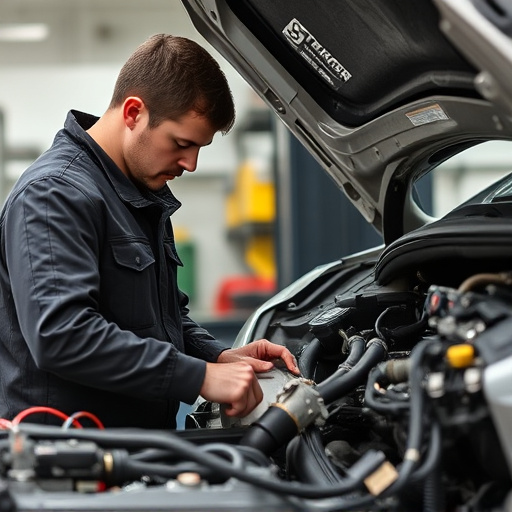
Removing door dings with PDR (Paintless Dent Repair) is a meticulous process that requires precision and the right tools. Here’s a step-by-step guide to help you get started:
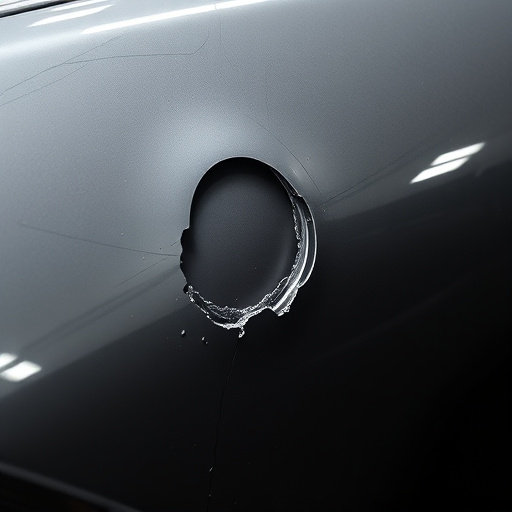
1. Inspect the Ding: Begin by thoroughly examining the dent. Ensure it’s suitable for PDR, as not all dents can be repaired this way. The goal is to remove the deformity without damaging the surrounding paint surface.
2. Prepare Your Work Area: Set up your work area in a clean, well-lit space. Lay out your PDR tools, including the puller, tip, and any other accessories. Ensure you have adequate ventilation, as some products emit strong scents.
3. Apply Heat (if necessary): Depending on the severity of the ding, you might need to apply heat with a heat gun to soften the paint. This step helps to make the dent more pliable for repair. Always be cautious when using heat to avoid damaging the surrounding paintwork.
4. Insert the PDR Tool: Choose the appropriate tip for your tool and insert it into the dent. Ensure firm pressure while gently applying force in a back-and-forth motion. This step requires patience as you work to release the tension in the paint.
5. Pull and Adjust: Once the dent starts to lift, use your tool to pull the dent out while adjusting the angle and pressure to ensure even removal. Be careful not to apply too much force, which could damage the paint or leave indentations.
6. Smoothen the Area: After successfully removing the ding, smoothen the area with a damp cloth to blend any remaining marks. This step helps to integrate the repaired section seamlessly with the rest of the car body.
PDR for door dings is a cost-effective and efficient way to restore your vehicle’s appearance. By understanding the basics, investing in the right tools and materials, and following a simple step-by-step guide, you can effectively remove door dings and bring your car back to its pre-damaged condition. Remember, with practice, you’ll become a PDR pro, ensuring your vehicle looks as good as new.